SaaS Plans and Pricing
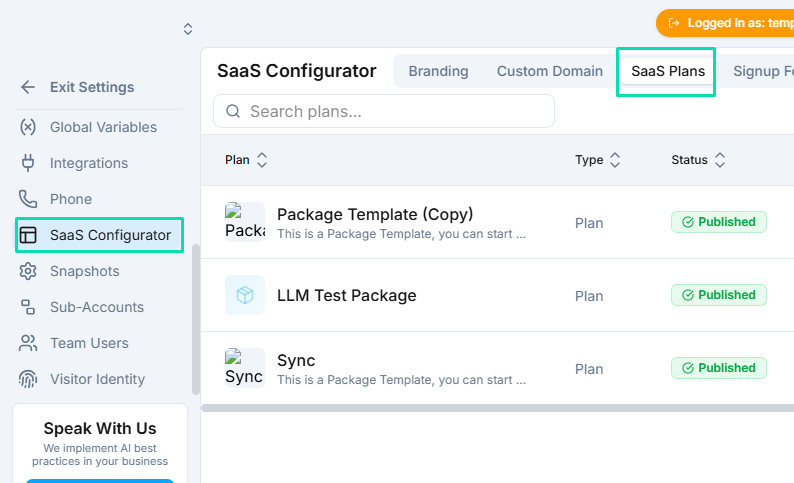
SaaS Plans let you create billing tiers for your white label clients. Define what each plan includes, set your own pricing, and control how each service is billed. This is how you build a profitable reselling business on top of .
Creating a Plan
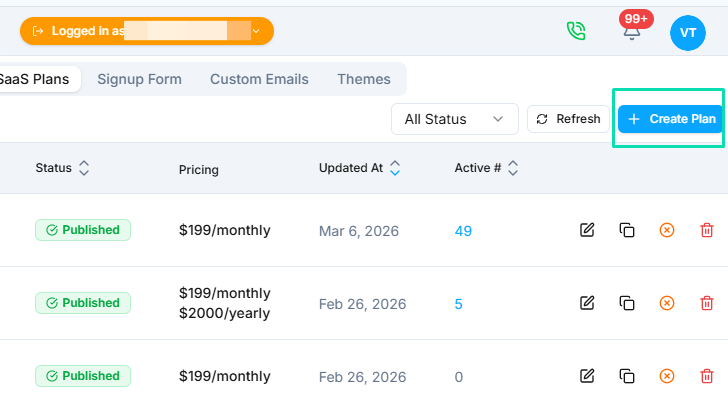
Each plan needs a name, description, and pricing. You can offer multiple billing intervals:
- Monthly --- charged every month.
- Quarterly --- charged every three months.
- Annual --- charged once per year, often at a discounted rate.
You can create as many plans as you need --- for example, a Starter plan with limited usage, a Growth plan with more capacity, and a Pro plan with everything included.
Per-Service Customization
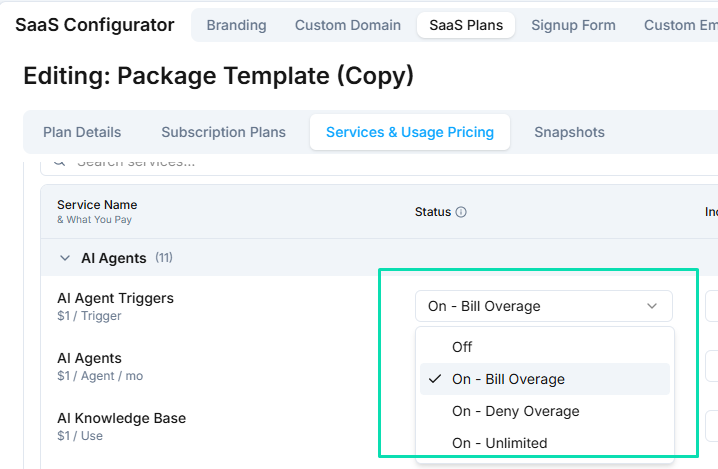
Every service in the platform can be priced individually within each plan. This gives you granular control over what your clients pay for and how much.
For each service, choose one of four billing control modes:
- Unlimited --- the service is included at no extra charge beyond the plan fee. Clients can use as much as they want.
- Pay-Per-Use --- clients are charged based on actual usage. You set the per-unit price.
- Deny Overage --- usage is capped at the plan limit. Once the limit is reached, the service is blocked until the next billing cycle.
- Off --- the service is completely disabled for this plan.
2X Markup Shortcut
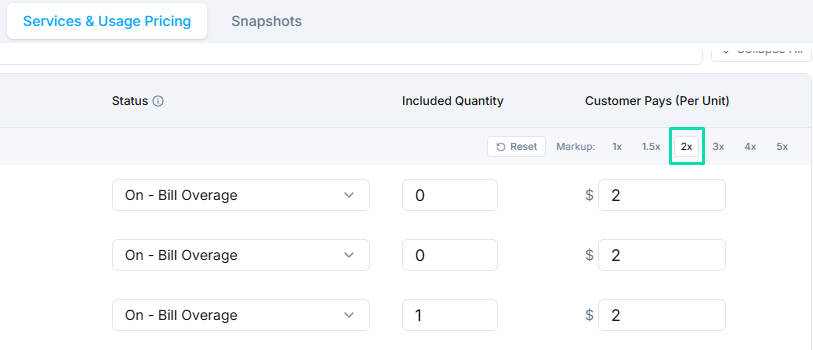
Not sure how to price your plans? Use the 2X Markup button to automatically double your cost for each service. This sets your retail price at a 100% margin, giving you a quick starting point that you can fine-tune later.
One-Time Free Credits
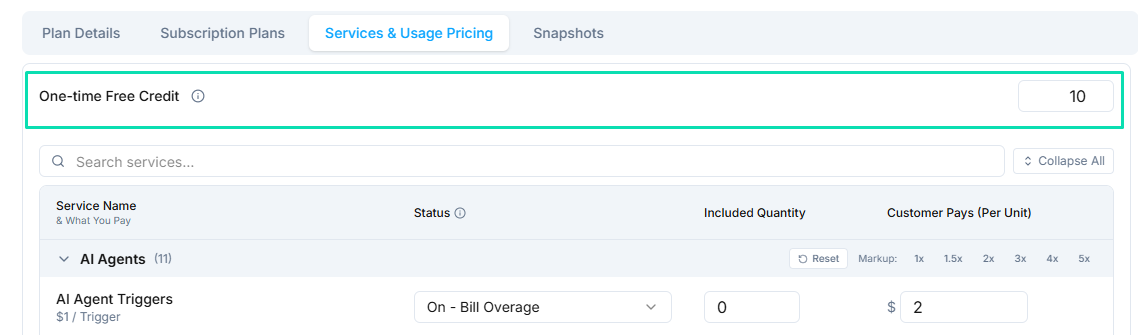
Give new customers a head start by including one-time free credits with their plan. These credits are applied when the customer signs up and can be used toward any metered service. Once the credits are consumed, normal billing takes over.
Welcome Survey
When people sign in to a new account, they see a short welcome survey, sometimes called the onboarding wizard, until one of them finishes it. It asks what they will use the platform for, how they heard about it, the features they want, where they are moving from, inviting their team, and their company details. Each plan decides whether the accounts it creates see it.
- Go to Settings > SaaS Configurator > SaaS Plans and open the plan.
- On Plan Details, turn the Welcome survey switch off. It then reads Skipped for new accounts (on, it reads Shown to new accounts).
- Save the plan (Save & Publish, or Save as Draft from its menu).
With the switch off, people on a new account go straight into the app at their first sign-in. Keep in mind:
- It applies to accounts created on the plan from then on, however they sign up. Accounts that already exist are not changed: turn the survey off for one of them on the Managing Sub-Accounts page.
- Add-ons have no such switch, because an add-on never creates an account.
- The survey's company details step is where the account's company name, country, time zone and currency are set. An account that skips the survey does not get them that way. You can give the company name when you create or edit the sub-account.
- Finishing the survey is what starts your workflows that use the Onboarding Completed trigger, so they never run for an account whose survey is off.
You can also choose for one sub-account at a time when you create it; see Managing Sub-Accounts.
Next Steps
- Signup Forms --- create checkout pages so clients can subscribe to your plans
- Managing Sub-Accounts --- assign plans to client accounts and manage billing