Managing Sub-Accounts
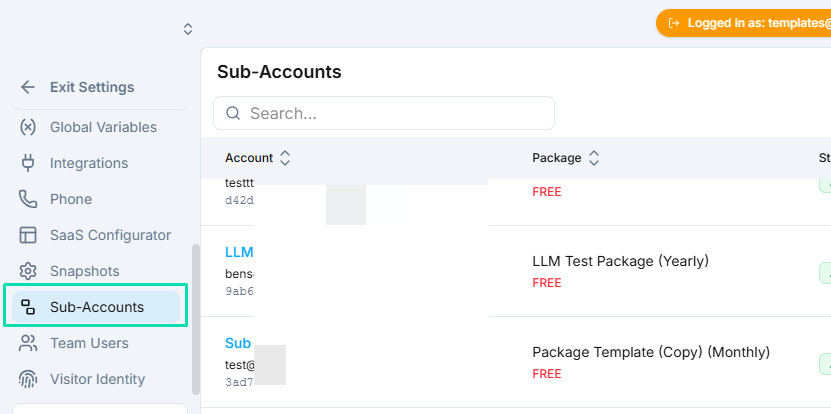
Sub-accounts are the individual client accounts that run on your white label platform. You can create them manually, assign plans, log in as any client, and manage every aspect of their account from your dashboard.
Creating Sub-Accounts
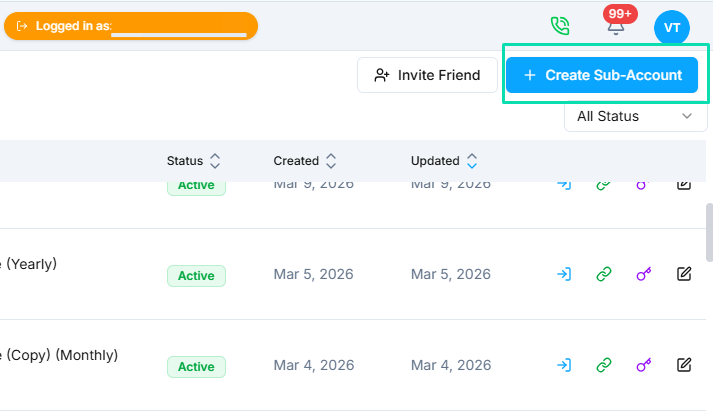
There are two ways to create a sub-account:
- From the dashboard --- click the add button in the Sub-Accounts section and fill in the client details.
- From a contact page --- open any contact record and create a sub-account directly from there.
Accounts created through Signup Forms are generated automatically and also appear here.
Assigning Plans
When you create or edit a sub-account, assign it to one of your SaaS plans. This determines what services the client can access and how they are billed. You can change the assigned plan at any time.
Accessing Client Accounts
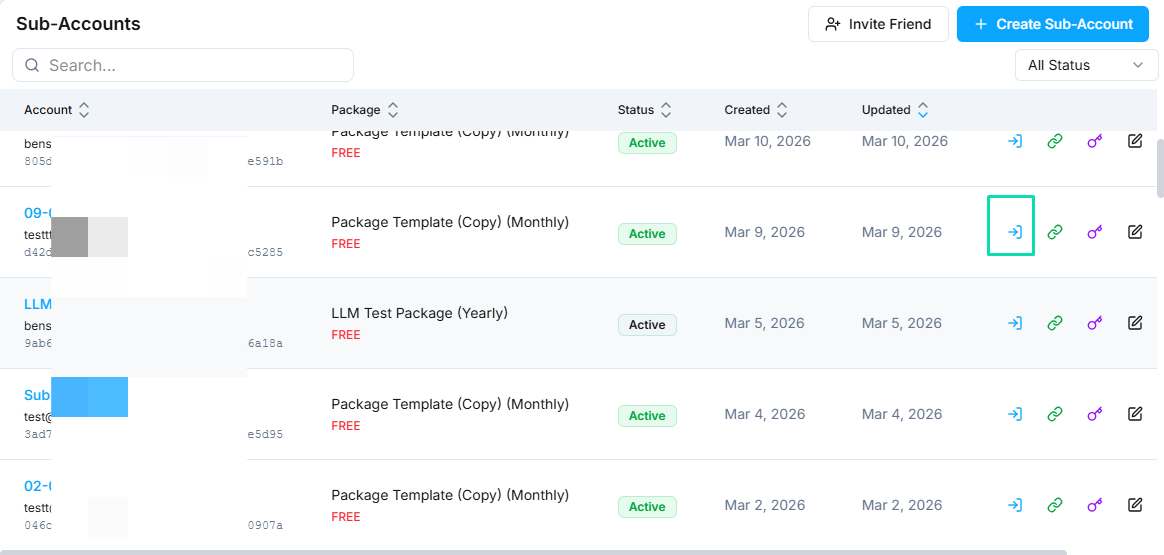
- Login as --- instantly access any sub-account to configure it, troubleshoot issues, or set things up on behalf of your client. You see exactly what the client sees.
- Generate login link --- create a one-time login URL that you can send to a client. The link grants access without requiring the client to remember a password.
Managing Accounts
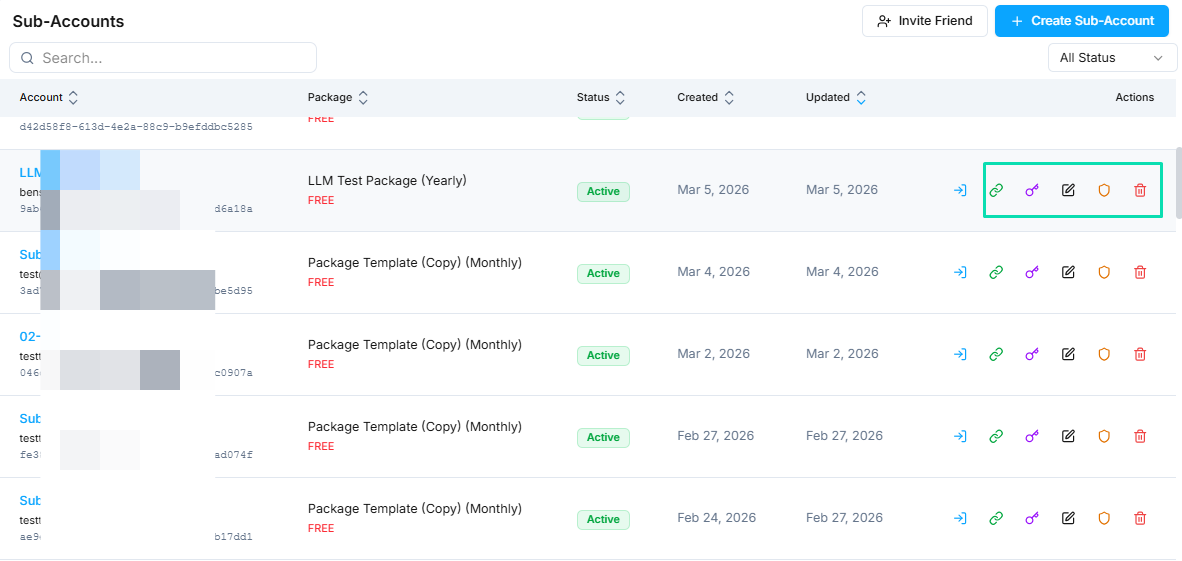
From the sub-accounts list, you can:
- Edit --- update client details, change the assigned plan, or modify account settings.
- Deactivate --- temporarily suspend an account without deleting it. The client loses access until you reactivate.
- Delete --- permanently remove a sub-account and all its data.
Billing and Contact View
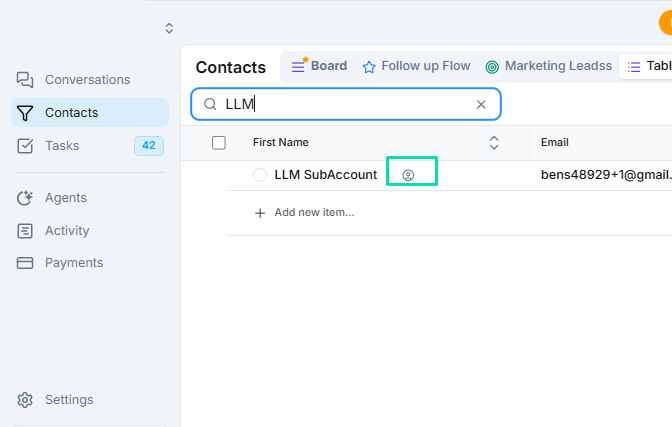
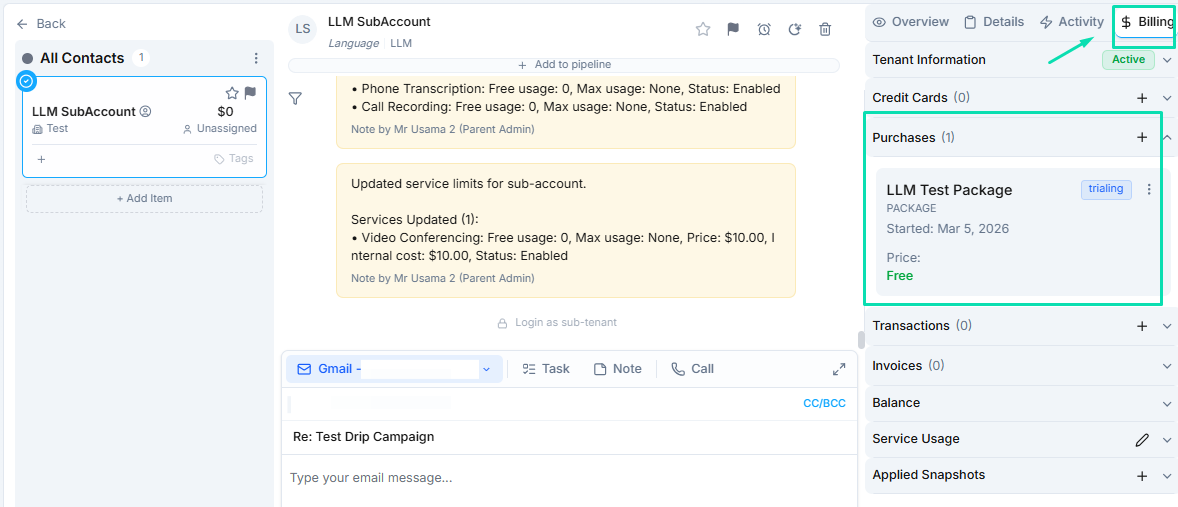
Each sub-account also appears as a contact in your CRM. From the contact page, you can view:
- The Billing tab with subscription details and payment history.
- Current plan assignment and usage data.
- All communication history with that client.
Next Steps
- Signup Forms --- set up self-serve checkout so clients can sign up without manual account creation
- Payment & Billing --- manage transactions, subscriptions, and revenue tracking