Customizing Pipeline Cards
Pipeline cards are the contact tiles that appear in board view. You can control which fields are displayed on each card so your team sees the most relevant information at a glance without opening the contact record.
Why Customize Cards?
By default, cards show basic contact information. But depending on your business, you may need to see a follow-up date, a deal value, a lead score, or a custom field right on the card. Customizing cards saves time by putting the data you need front and center.
Selecting Card Fields
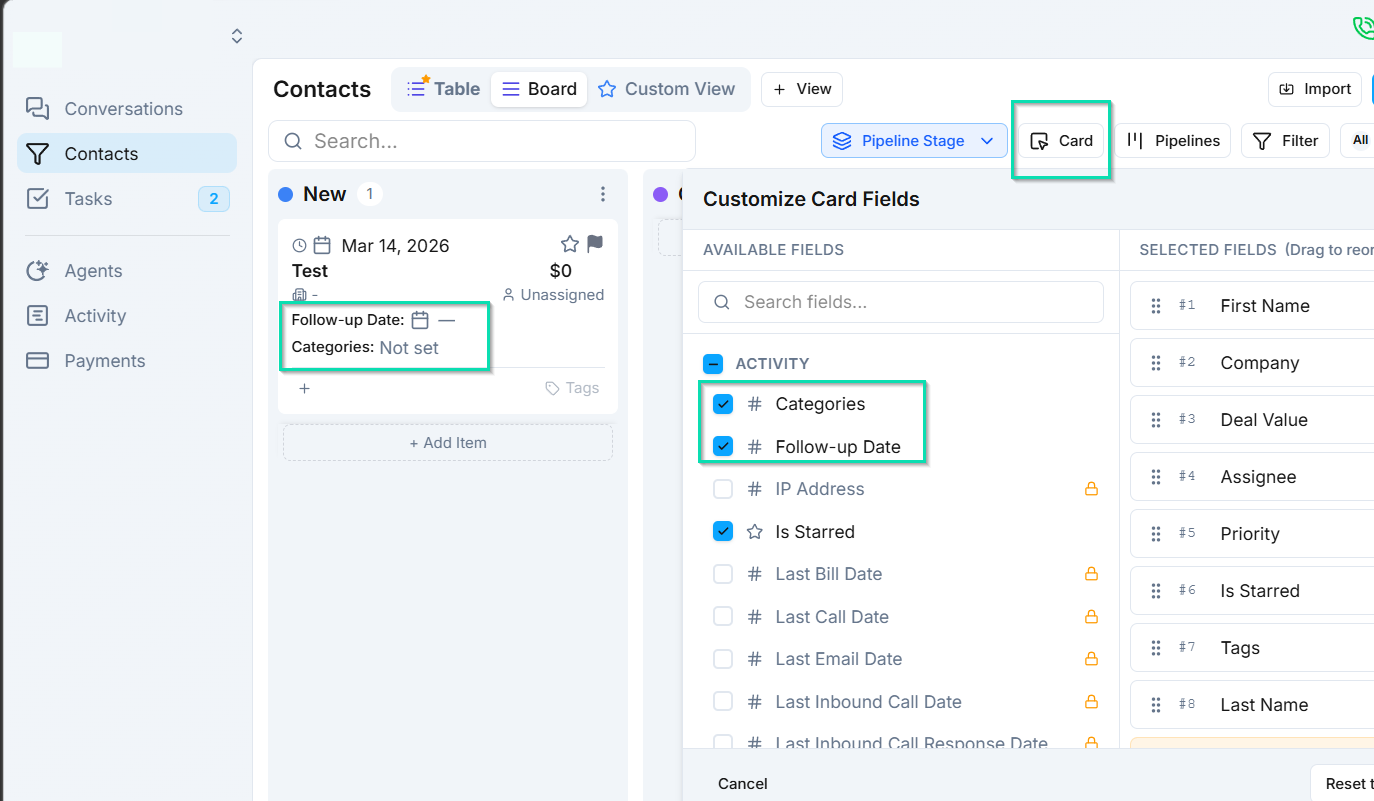
To choose which fields appear on your pipeline cards:
- Open your pipeline card settings.
- Browse the list of available fields.
- Select the fields you want displayed on each card.
- Reorder fields to control their display priority.
Available Field Types
You can display any of the following field types on pipeline cards:
- Text — names, notes, short descriptions.
- Dropdown — status values, categories, or other predefined options.
- Checkbox — yes/no indicators (e.g., "Verified", "VIP").
- Date — follow-up dates, appointment times, deadlines.
- Number — deal values, scores, quantities.
Inline Editing
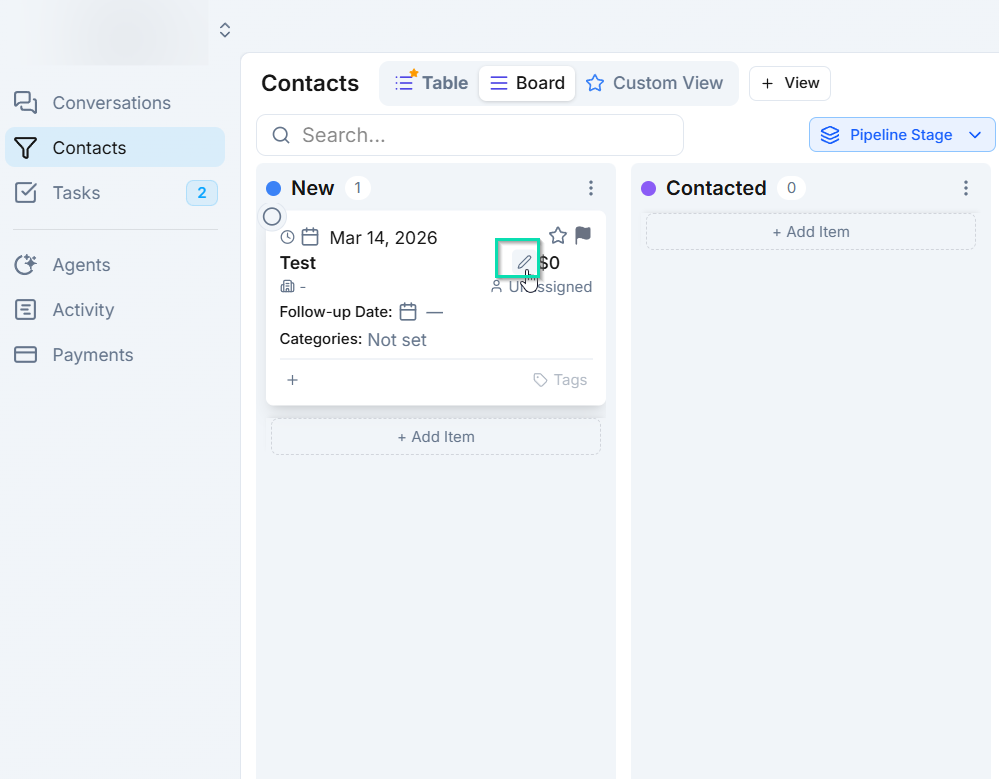
Fields displayed on pipeline cards support inline editing. Click a field value directly on the card to update it — no need to open the full contact record. This is especially useful for quickly updating statuses, dates, or checkbox values as you work through your board.
Best Practices
- Keep cards clean. Show only 3-5 fields per card to avoid clutter.
- Prioritize action-oriented fields like follow-up dates and deal stages.
- Use checkboxes for quick visual indicators (e.g., "Contacted", "Qualified").
Next Steps
- Custom Fields — create new fields to capture business-specific data
- Pipelines — configure the pipeline stages your cards live in